


How to Inspect Wall Mold Without Missing Hidden Growth
A wall can look clean while moisture and mold growth are developing behind the paint, drywall, baseboard, or insulation. Knowing how to inspect wall mold helps you respond before a small leak becomes a larger health, habitability, and property-value concern. The goal is not to diagnose every stain yourself. It is to notice credible warning signs, document what you find, and know when the wall needs professional evaluation.
If mold exposure has left you or someone in your household feeling unwell, the uncertainty can be especially stressful. We know what you are going through. A careful inspection can replace guesswork with a clear next step while avoiding unnecessary disturbance of potentially contaminated materials.
Start With Moisture, Not Just Visible Mold
Mold needs moisture to grow. That means the most useful wall inspection begins by asking where water may be entering or collecting. A dark spot matters, but a water source matters more.
Look first around plumbing walls, bathrooms, kitchens, laundry areas, windows, exterior walls, roofs, and HVAC equipment. Check the wall below or beside a shower, sink, refrigerator water line, washing machine, water heater, or air-conditioning drain. In Arizona and California, leaks from monsoon damage, aging roofs, plumbing failures, window intrusion, and condensation can all create the conditions for concealed growth.
Pay attention to changes in the wall itself. Bubbling or peeling paint, swollen drywall, soft spots, warped baseboards, discoloration, cracking, or a persistent musty odor can point to moisture behind the surface. A wall that feels noticeably cooler or damp compared with surrounding areas also deserves closer attention.
Not every stain is mold. Old water staining, soot, dirt, adhesive residue, and discoloration from building materials can look similar. Conversely, mold may be white, gray, green, brown, black, or nearly invisible. Color alone cannot identify a mold type or tell you whether a condition is harmful.
How to Inspect Wall Mold Safely
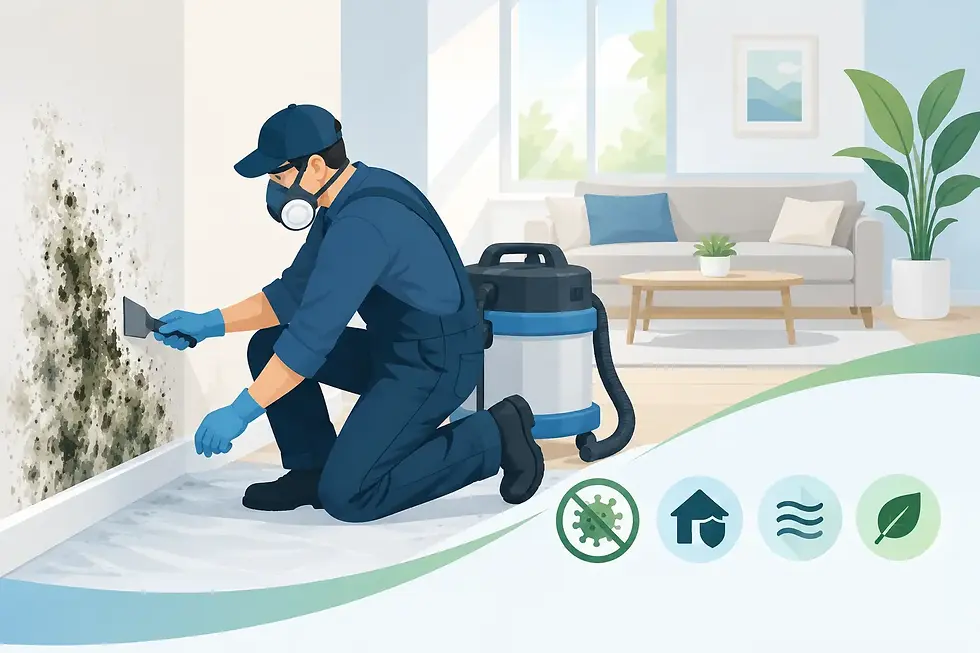
Before you get close to a suspected area, avoid actions that can spread particles through the room. Do not sand, scrape, drill, cut into drywall, pull off baseboards, or use a fan to dry an area with visible growth. These steps may release contamination from the wall cavity and make a limited problem harder to contain.
Start with a visual and odor inspection in good lighting. A flashlight held at a low angle can reveal raised paint, texture changes, and staining that overhead lighting misses. Photograph each concern from a distance and then close up. Include a wider photo that shows the wall's location, such as its relationship to a window, fixture, or plumbing area.
Next, check the perimeter. Look along the baseboard, corners, ceiling line, electrical outlets, and openings around pipes. Water often travels inside a wall before becoming visible at its lowest point, so the stain you see may not be directly beneath the original leak. A damaged baseboard or floor edge can be an early clue that water has been wicking through porous materials.
Use your sense of smell with care. A musty, earthy odor that returns after cleaning, ventilation, or fragrance products are removed may indicate an ongoing moisture issue. Odor is not proof of mold, but it is meaningful when paired with water damage or physical changes in the wall.
A household moisture meter can sometimes help identify unusually damp drywall or wood, especially when you compare readings with a dry section of the same wall. It is a screening tool, not a final answer. Meter readings vary by material, temperature, salts, metal fasteners, and how deeply moisture sits within the assembly. Infrared cameras can also flag temperature differences that suggest moisture, but they cannot confirm mold and can be misleading without an experienced inspector's interpretation.
Signs the Mold May Be Hidden Inside the Wall
Visible growth is not required for a serious moisture problem. Mold may be concealed behind intact paint or drywall, beneath wallpaper, inside insulation, behind cabinetry, or under trim. In some cases, occupants notice symptoms or odor before they see a surface change.
Be more cautious when a wall has a known history of flooding, a pipe leak, roof damage, sewage backup, or repeated condensation. Even if the surface was dried quickly, water may have entered insulation, framing, or the back side of drywall. A repaired leak does not automatically mean the affected materials were properly dried or evaluated.
Watch for recurring clues. If a stain returns after repainting, paint repeatedly blisters in the same area, or an odor becomes stronger when the air conditioner runs or humidity rises, the underlying source may still be active. A wall that is soft, bowed, or crumbling should be treated as a building-material issue as well as a possible contamination issue.
For renters, documentation is especially valuable. Record the date, location, visible conditions, odors, leaks, repair requests, and any photos taken before cleaning or repairs. For sellers, buyers, realtors, and property managers, a documented inspection and independent lab results can provide a more defensible basis for repair decisions than assumptions based on appearance.
When a Professional Mold Inspection Is the Safer Choice
A small, isolated spot on a nonporous surface may be manageable after the moisture source has been corrected. Wall mold is different because drywall, insulation, paper backing, and wood trim can hold moisture and support growth beyond what is visible. If you do not know how far water traveled, an inspection is often the most cost-conscious first move.
Professional evaluation is strongly recommended when the affected area is larger than a small, contained patch; there has been significant water damage; the odor persists; growth keeps returning; or the wall must be opened to investigate. It is also wise to call an inspector when someone in the property is medically vulnerable, has asthma or other respiratory concerns, is recovering from mold-related illness, or experiences symptoms that seem connected to the building.
A qualified inspection should do more than take a quick look at a stain. It should assess moisture sources, building conditions, visible and suspected concealed areas, and the extent of affected materials. Depending on the situation, the inspector may recommend targeted sampling or independent laboratory testing. Testing has limits - a single air sample is only a snapshot - but properly selected samples and an inspection can help clarify what is present and guide a remediation plan.
Ask who performs the testing, whether the laboratory is independently accredited, and how results will be used. The best next step is based on the entire picture: moisture history, material damage, inspection findings, lab evidence when appropriate, and the health needs of occupants. A report should explain the findings in plain language rather than simply label a property as safe or unsafe.
Do Not Cover the Evidence Before Finding the Cause
It is tempting to bleach, paint, caulk, or deodorize a suspicious wall before anyone sees it. Those actions can hide evidence without correcting moisture behind the wall. They can also complicate a future inspection or make an odor temporarily harder to track.
If active water is present, take reasonable steps to stop further damage. Shut off water if a plumbing leak is involved, move belongings away from the area, and contact the appropriate repair professional. Avoid using dangerous chemicals or mixing cleaning products. If the source is a roof, plumbing, window, or HVAC failure, repair and drying need to be part of the plan. Remediation without moisture correction is unlikely to last.
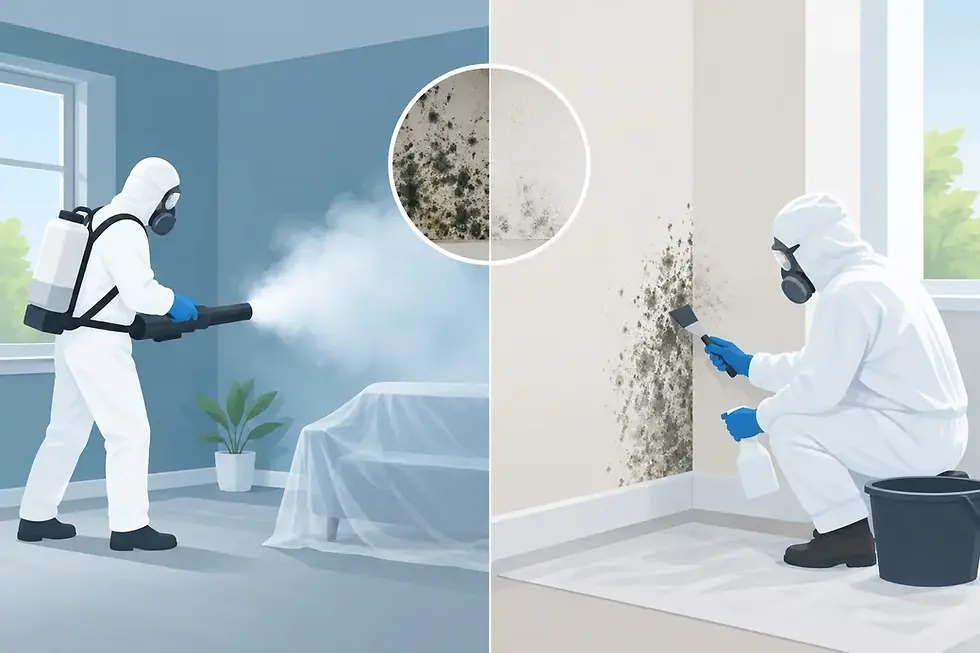
When wall materials need to be opened, the work should be planned to limit cross-contamination into clean areas. This may involve containment, controlled removal of damaged porous materials, cleaning of remaining structural components, and verification after treatment. The right scope depends on the building, the materials involved, the duration of moisture, and how far contamination has spread.
What to Have Ready for an Inspection
A few details can make an inspection more efficient. Share when you first noticed the issue, whether there was a leak or flood, what repairs have been attempted, and whether the problem has returned. Keep photos taken over time, prior plumbing or roofing invoices, and any relevant maintenance records.
Also explain whether there are health concerns, but do not feel pressured to prove a medical connection. An environmental inspection evaluates the property conditions. Your healthcare provider is the right person to evaluate symptoms and individual medical needs. Together, those perspectives can help you make protective decisions for your household or workplace.
Mold Neutralizers approaches wall concerns as both a building-science and wellness issue, using certified inspections, independent laboratory testing when warranted, and post-treatment clearance reporting. For a suspected hidden problem, clear evidence and a carefully scoped plan are more useful than a surface-level cleanup.
If a wall is telling you something has changed, trust the signal long enough to investigate it. Early documentation and a thoughtful inspection can protect the people in the space while giving you a practical path forward.

Comments